Windows 10 Ethereum Mining Guide that contains information about GPU settings,BIOS modding, overclocking and Windows 10 tweaks
GPU BIOS Guide (one click)
Follow first 5 chapters of AMD Ethereum Mining Guide before going to this guide!
If you own a Gigabyte RX 5700XT OC 8GB (or Asus Strix 5700XT), do NOT follow this guide. Modding these GPUs might brick them. Follow this link instead: Best Settings for Gigabyte 5700XT
Yes this guide will teach you how to BIOS mod yourself with just 1 click. The guide explains in detail everything you need to know about modding
What do you need to know about BIOS mod?
First read trough my Ethereum Mining Guide, till the 6. Chapter : “BIOS MOD”. There are various guides and tutorials how to BIOS mod your GPU and they are all very confusing and risky to use, especially if you accidentally use a BIOS that is not made for your GPU. In BIOS we need only to change Memory Timings. There are many reasons to do it that way, because as you see in my Ethereum Mining Guide under Overclock section, the GPU’s don’t behave identical even if they are the same GPU they can give much different results.
For example I have 50 Sapphire RX 570 4gb Elpida memory cards, they are all exact the same and the results I have from them:
- some GPU can handle only 1950 mhz on memory
- some GPU can handle 2125 mhz on memory
- some GPU can run at 800mV on memory voltage
- some GPU can run at 875mV on memory voltage
As you notice there is a wide range of possible GPU settings, even if they are the same GPU. It would be very dangerous to put voltage values and memory clock values in the BIOS, because one of the GPU’s could not handle it properly and you could even brick your card. And it makes no sense to do it if you have software like OverdriveNtool which gives you full access to GPU and it’s voltages and clock rates. THERE ARE NO UNIVERSAL GPU SETTINGS, please follow the Overclock chapter in my Ethereum Mining Guide for the only right way to overclock and under-volt your GPU’s. NEVER CHANGE VOLTAGE AND CLOCK RATES IN BIOS.
Anorak BIOSes have only memory timings replaced and the power save BIOSes have:
- voltage on memory reduced to 900mV because they can’t know if your GPU can run at 850mV or even 800mV, the reason is explained above (for most BIOSes this has no effect, your GPU driver will restore it to default settings)
- GPU core clock rate reduced to 1100-1200 mhz
- TDP(W) reduced by about 20% (it has no effect if you use software for Overclock/Undervolt)
Those settings from anorak BIOSes are trying to be as general as possible and they are way over the actual limit of your GPU. The GPU core voltage should never be touched(in BIOS), people like to change the dynamic voltage to static ones (direct mV values) and that can cause GPU to get bricked if your PC freezes or you get random power outage.
Memory Timings?
Memory timings are the only part in the GPU BIOS that you need to change. Your miner software is using the memory of the GPU to make the calculations (hashrate you see in Claymore). In the GPU BIOS it is described how the GPU Memory should behave on specific clock rates. By changing how your memory behaves at higher clock rates (increase tick rate of timings) we can make the GPU calculate it’s operations faster.
By changing memory timings we can increase the hashrate, depending how fast the new timings are. There is nothing else you need to change.
How to BIOS mod properly? (one click)
If your GPU is Rx 5700 or Rx 5700XT, follow this link instead: Rx 5700XT Mod
Now after you know the basics of BIOS mod, you really don’t need to know anything else cause we will only replace the Memory Timings in the GPU BIOS. Overclock and undervolt can be done trough software and we NEVER change those values in the BIOS, because it can brick your cards if you do. It’s simple as that 
Download Polaris 1.6.5. This software recently got a database of almost all memory timings and allows you to change your GPU Memory timings in one click (it auto detects and replaces them).
BIOS mod steps:
- Export your original BIOS with GPU-Z as explained in Ethereum Mining Guide at Chapter “BIOS MOD”
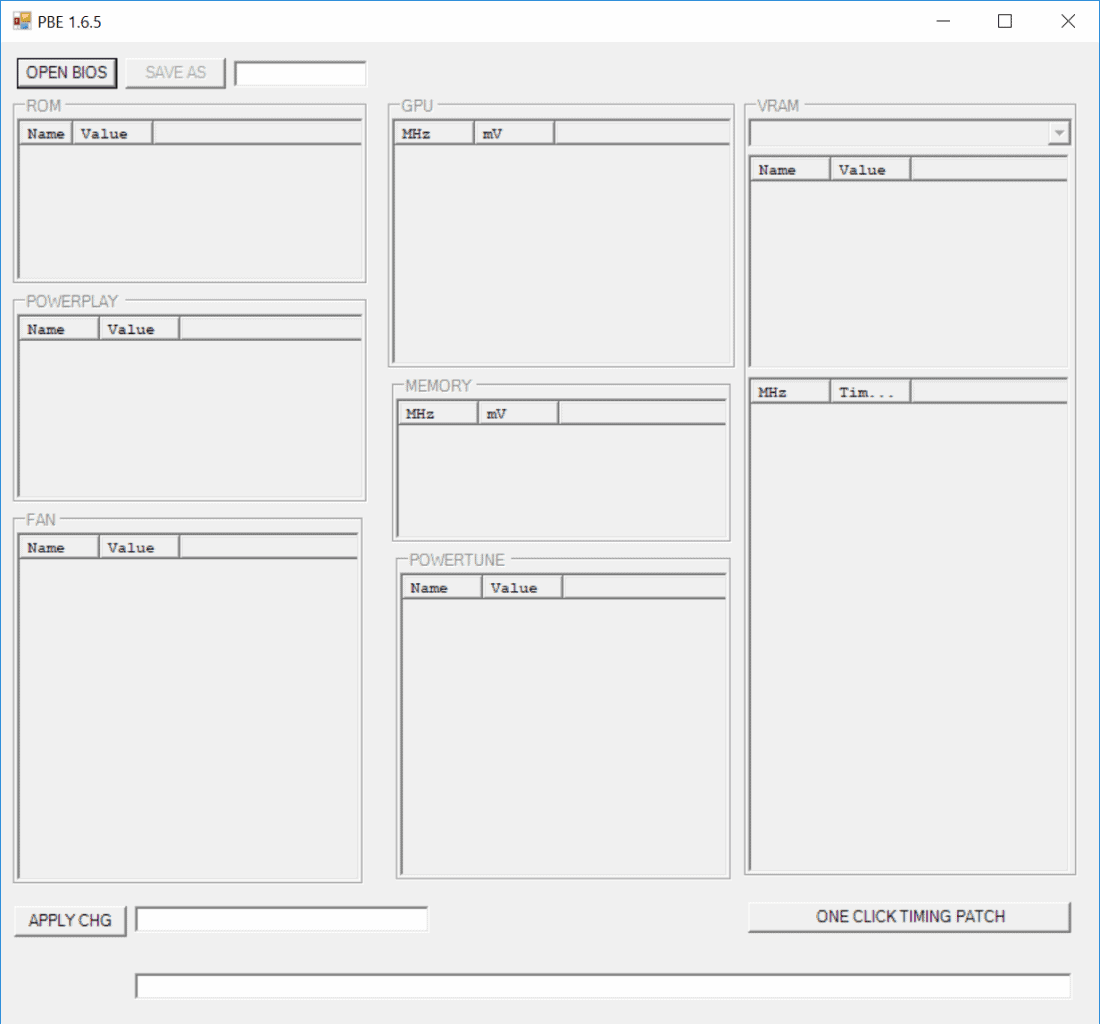
- Open Polaris 1.6.5.

Polaris Bios Editor 1.6
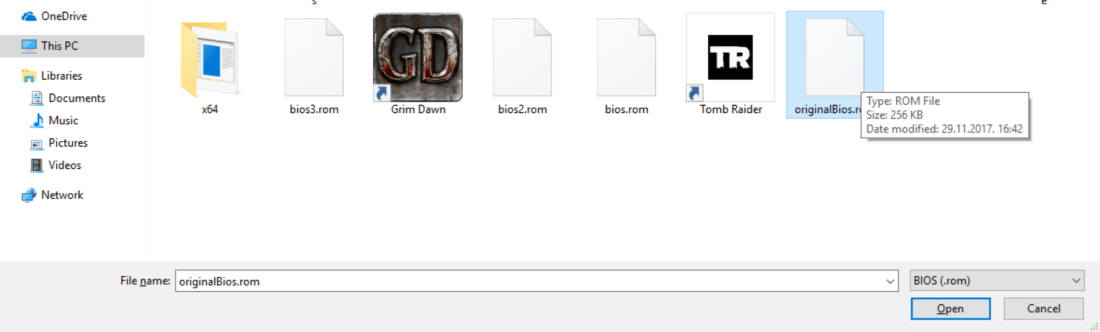
- Open your original exported BIOS from GPU-Z
Original Bios
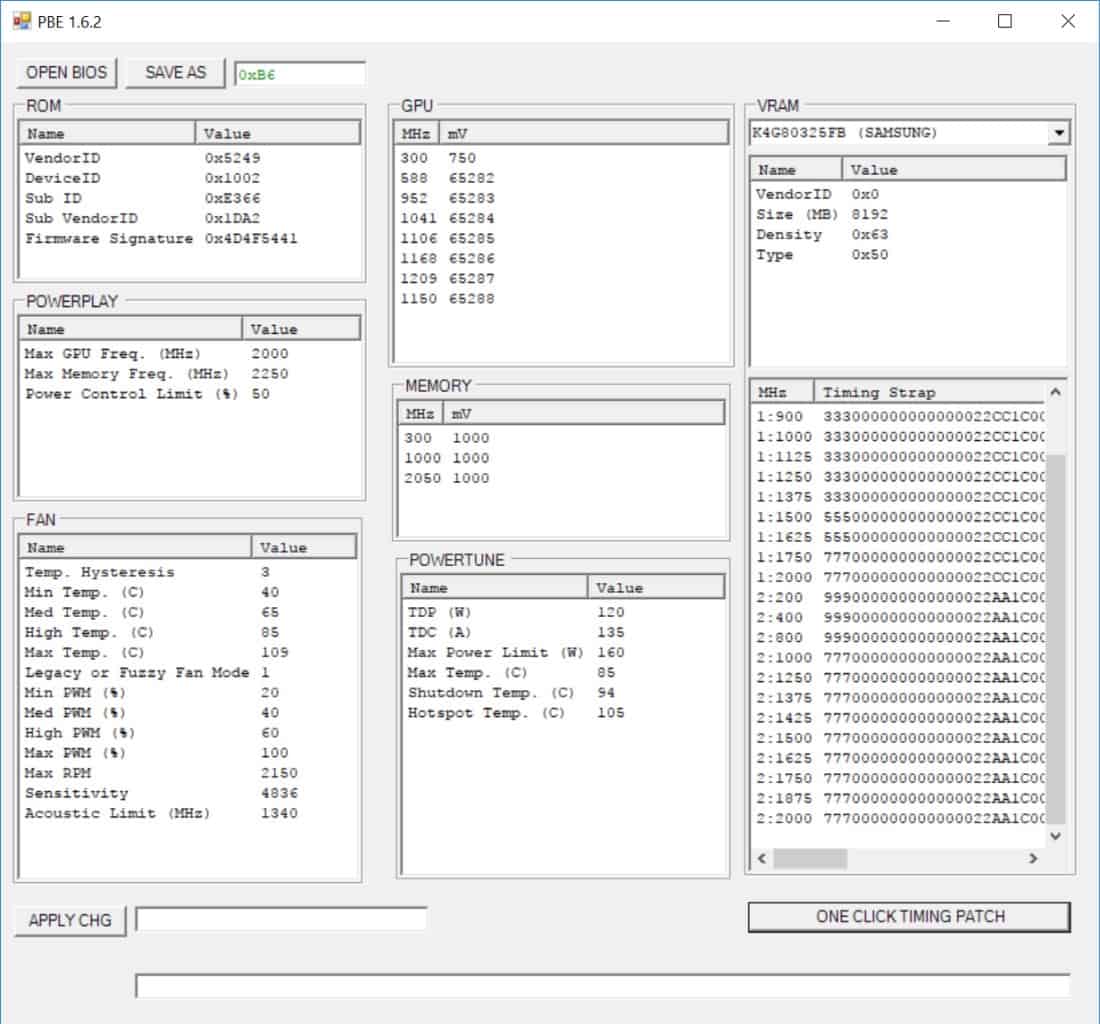
- Click on: ONE CLICK TIMING PATCH
One Click Bios Mod
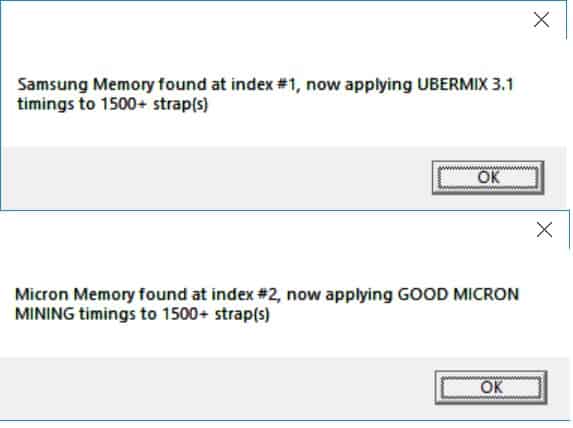
- Click Ok (depending on your memory type it will patch 1 or 2 different memory timings)
Upgraded Memory Timings
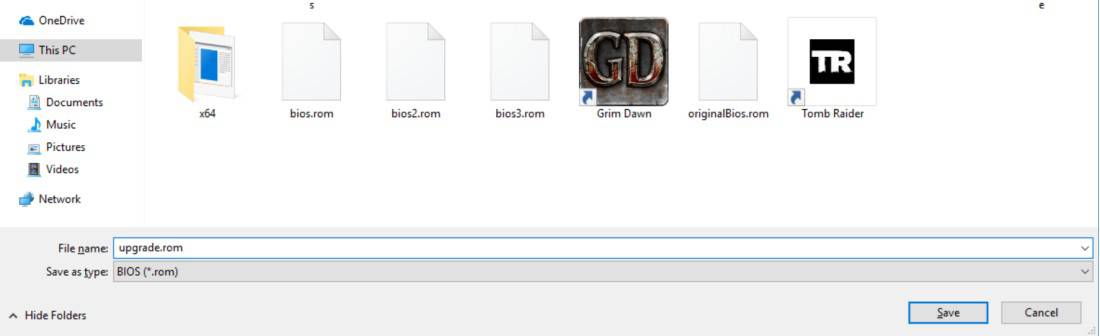
- Save your new bios
Save New BIOS
- Continue my Ethereum Mining Guide from : “How to Flash the new BIOS?”
That’s it, you have proper BIOS mod without making any unnecessary risks to your GPU. With OverdriveNtool you can adjust properly voltages and clock rates of your GPU individually to get maximum hahsrate for minimum power draw without risking stability or lifetime of your GPU’s.